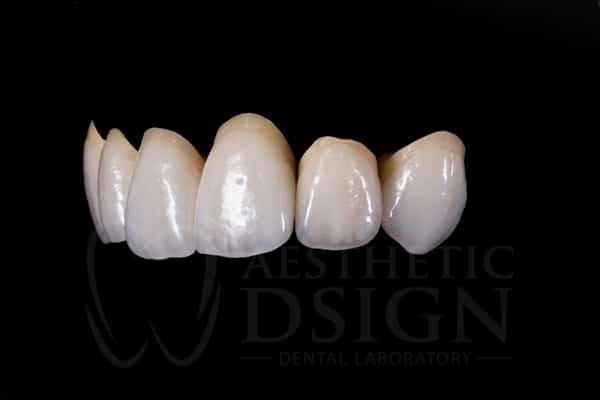
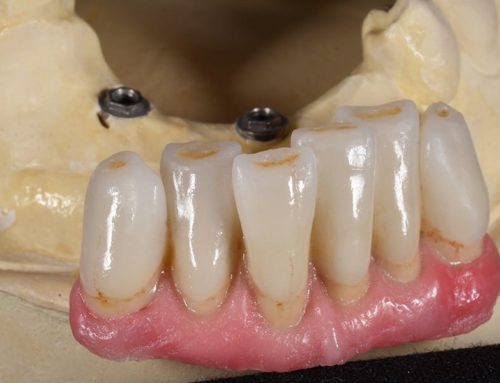
When doing restorations for patients, it is important to remember that the aesthetic value of the work is just as vital as the functionality to the patient. No patient wants their crown or veneer to be a different color from their natural teeth, advertising to others that they have had dental restorations done. After devoting their trust, money, and time into their smile, patients deserve the best possible results. In the growing field of cosmetic dentistry, it is imperative that you are able to select appropriate tooth shades for patients and effectively communicate this information with your dental lab. Here are some tips on selecting tooth shades for your patients.
Setting Up
Shade selection should be done at the beginning of the appointment, before the teeth dehydrate and/or your eyes are fatigued from performing any procedures. Have the patient remove any lipstick and other bright makeup so that they do not interfere with the shade selection and then drape them with a neutral color bib. Make sure you do not to have the overhead light shining in the patient’s mouth.
Selecting the Shade
When you are selecting the tooth shade, do not stare at the comparison for more than 7 seconds; staring at the comparison for longer than this can cause retinal fatigue. It is best to look at a neutral gray card between comparisons so that your eyes can refocus and your depth perception resets. Have the patient move their head around so you can compare shades under different lighting angles. Also, compare the shade with the patient’s lips retracted and with their lips down so you can see the shade under different conditions. Have a team member also make a shade selection and then compare yours with theirs to make the best possible choice. Remember that in shade selection, first impressions are the most accurate.
Communicating Shade with the Lab
Teeth are complex, especially since some teeth vary in shade, and they do not often match identically with a shade guide. The process of selecting a shade does not have to be complicated, however. If a dentist invests in a quality digital SLR camera and is able to communicate with the lab through email, the correct tooth shade can be chosen with little difficulty. When taking the pictures, make sure that the shade tab and its lettering are completely visible and hold the shade tab in the same position as the natural teeth, causing the light to reflect the same way. Since you will have more than one shade tab that will look suitable with the natural tooth color, take multiple photographs using the different shade tabs and send them to the lab. The lab technician will then be able to compare the various shade tabs with the tooth color and make the best selection. It is also necessary that you send in a picture showing the prepared tooth color when you are doing an all-ceramic restoration. Finally, you should take a 1:1 close up of each tooth you are selecting the shade for with your digital camera and macro lens and send it in to the lab to better convey the details of the tooth.
By following these tips, you will be able to give your patients the results they want and avoid problems with tooth shade discrepancies.

